

vegetarian gravy
Busy day in the kitchen as I’m sure it is for many of you! I’m making vegetarian vegetable stock to use in gravy and stuffing, roasting and peeling chestnuts (also for my stuffing), and am now making vegetarian gravy. My boys will handle making baked potatoes and cranberry sauce and soon I’ll assemble the stuffing and put yams in the oven to cook.
When I went to find my vegetarian gravy recipe earlier today I realized that it’s been languishing among the draft posts for Fit and Fed. I must not have been happy enough with the photo above to publish it but now it seems good enough for my little blog.
I make vegetarian gravy twice a year to accompany mashed potatoes at Thanksgiving and Christmas. I have one son who has always hated mushrooms and still does, so delicious mushroom gravy has not been on our menu. Onion gravy it is, and it can be really good when you start with caramelized onions.
That takes some patience, and for this occasion I try to hang around nearby while the onions slowly caramelize so I can stir them as often as they need, or close to it. Sitting on the nearby sofa with the computer as I’m doing right now may hazard a few slightly charred onion bits while I’m writing this up for you. But now you have this:
- 7 Tbsp. extra-virgin olive oil, divided (4 Tbsp. for onions, 3 Tbsp. for flour)
- 4 cups (about 1#) finely chopped yellow onions, caramelized (makes ¾ cup caramelized onion)
- 3 Tbsp. white flour, or brown rice flour for gluten-free option
- 1½ cups vegetable stock
- ½ tsp. miso (for soy-free, use Miso Master Chickpea Miso)
- ¼ tsp. salt
- Finely chop onions.
- Heat 4 Tbsp. extra-virgin olive oil in pan, add onions, stir very often over low heat for about 40 minutes until onions are much reduced and golden brown.
- Remove onions from pan, leave pan with browned onion residue on bottom.
- Add 3 Tbsp. white flour or brown rice flour to pan along with the remaining 3 Tbsp. olive oil. For a lighter gravy, you can just dry-toast the flour without oil (this is what I did this year and everyone seemed pleased with the result.)
- Stir constantly for several minutes over low heat until browned.
- Add vegetable stock.
- Continue stirring until thickened. This will happen almost right away with the white flour but will take more than five minutes with the brown rice flour.
- Transfer to Vitamix or other high-speed blender.
- Add onions, miso, and salt, blend.
And a holiday bonus? I don’t usually share photos of me with my family, but today I want to share this, which was taken last year at Christmas within a day of that gravy photo above. It’s me and my mom on a trail not too far from my house. Precious family times. My mom will be visiting me again just a few days from now, I’m really looking forward to that.
Happy holidays to all of my readers! I hope you will find something of value to you here.
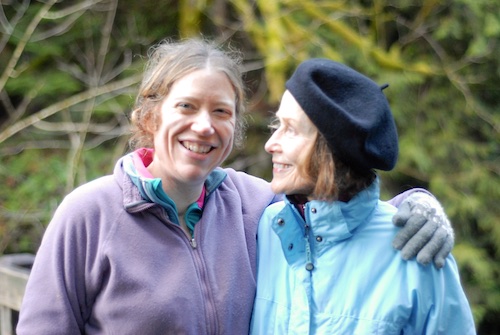
me and my mom
Related Posts:
 It's Not About the Turkey | Our Vegetarian Thanksgivings My vegetarian Thanksgiving meals over the years.
 Sweet Potato, Cranberry, and Pecan Gratin A sweet potato, cranberry, and pecan dish for Thanksgiving, Christmas, or anytime during cranberry season.
 Polenta Torte A polenta torte with a caramelized onions, a vegan cheese layer, and a pesto layer. You could also make a vegetarian layer using dairy cheese.
 Cooking for my Mom, Gluten, Dairy, and Soy Free Dinners for my mom: dairy, soy, gluten and nut free.


{ 4 comments… read them below or add one }
Your recipe looks good but I have forever stopped trying to make gravy for the family. It just never turns out well.
Thanks for linking up with Fitness Friday!
jill conyers recently posted..5 Things Friday
Well the blender step makes this one quite foolproof! Still, I hear you, you have to pick your battles in the kitchen.
The recipe looks great. I should try it but because I don’t eat turkey and prefer sweet potatoes to white, I cheat with the gravy and welcome “McCormicks” into our home 😉
Joanne Willcox recently posted..Seafood Orzo Risotto
Thanks, Joanne! I looked it up, didn’t know that there was such a thing as a gravy mix, now I know!